


A default user can upload images, videos, documents, and other files to Omni CMS.
Upload files while in Content > Pages or while inserting an image, media, or link onto a page. Uploading adds files to the file structure for your pages. You must publish an uploaded file for it to be visible on your live website.
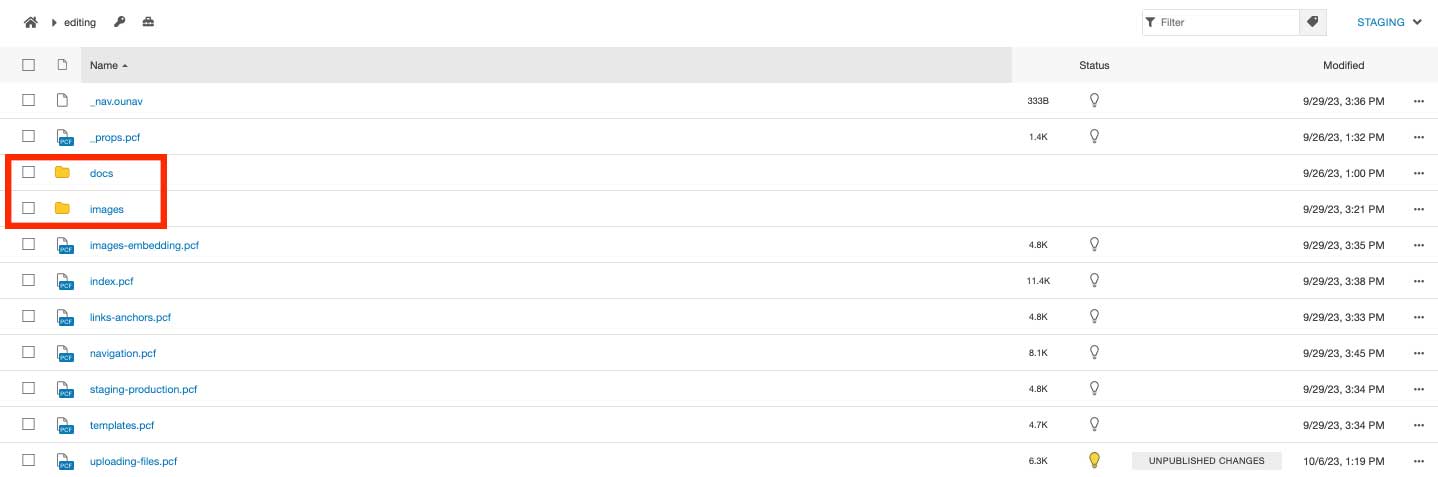
From the Pages View
Go to the Content > Pages list showing the location where you would like to upload new files. If you are uploading an image, there may be an "images" folder. If you are uploading a document (.pdf, .doc, and so forth), there may be a "docs" folder.
There are two ways to upload files.
- Drag the file(s) to the file list.
- Click Upload.
-
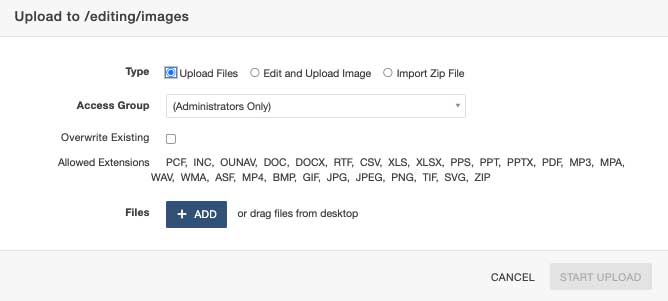
- In the "Upload" box, select the following:
- Type: Select a radio button to "Upload Files," "Edit and Upload Image" to edit images after the upload, or "Import ZIP File."
- Access Group: Choose which group has access to the uploaded file(s). This will default to the access group of your site/subdirectory.
- Overwrite Existing: Upload a file with the same name and extension as another file in that location to replace it and retain its dependency tag.
- Files: Click +Add to browse for files on your computer or drag files from your computer to the "Upload" box.
- Files to be uploaded appear in a list. You can remove files or rename them.
- Click Start Upload.
- In the "Upload" box, select the following:
Publish the uploaded file for it appear on your live website
While Editing
- While editing an editable region, click to insert an image, media, or link.
- In the "Insert/Edit" box, click the file chooser to navigate to where you want to
upload the file(s).
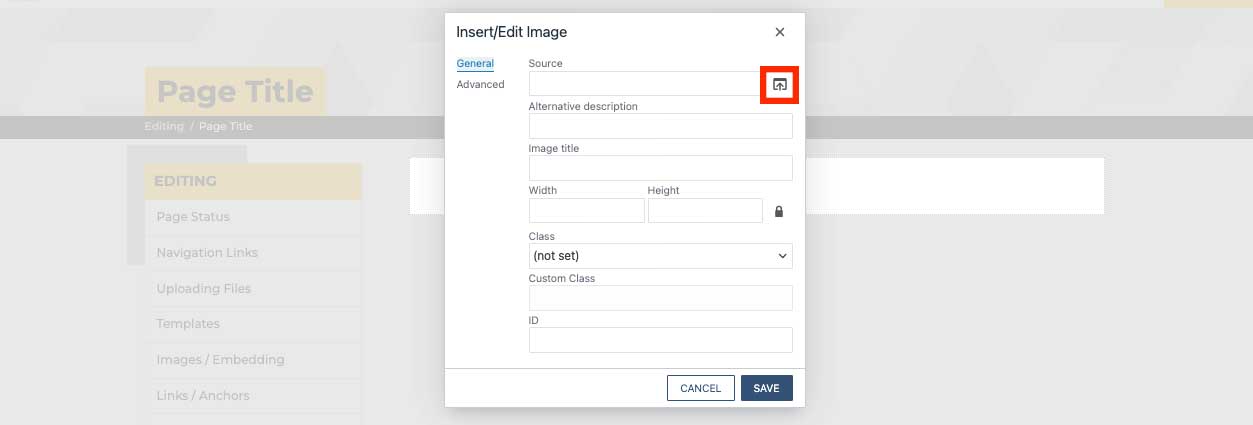
- Click Upload.
- If you are uploading images, you can also select Upload and Edit.
- In the "Upload" box, select the following:
- Access Group: Choose which group has access to the uploaded file(s).
- Overwrite Existing: Upload a file with the same name and extension as another file in that location to replace it and retain its dependency tag. Levels 9 and 10 users have this option, though it can be granted to others.
- Files: Click +Add to browse or drag files from your computer to the "Upload" box.
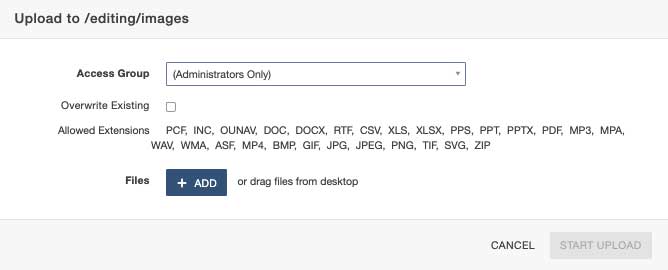
- Files to be uploaded appear in a list. You can remove files or rename them. Files that need to be renamed to fit your site's naming convention are highlighted.
- Click Start Upload.
- Click Insert.
- Publish the uploaded file for it appear on your live website.


