


About
Create and manage forms, surveys, and polls with form assets. Forms are designed to allow users to easily create surveys, volunteer sign ups, appointment forms, and other types of questionnaires. It is not permissable to use Forms to collect sensitive information such as credit card, medical or social security numbers.
Create
Create a form asset, as follows:
- Navigate to Content > Assets.
- Click +New.
- Click Form.
- Type an asset name.
- Description and tags are optional, but tags can make it easier to find when searching for an asset to place on a page.
- Forms are automatically locked to the site. To use a form on a different site, create and activate a new form asset on that site.
- Set access settings for the asset, if applicable.
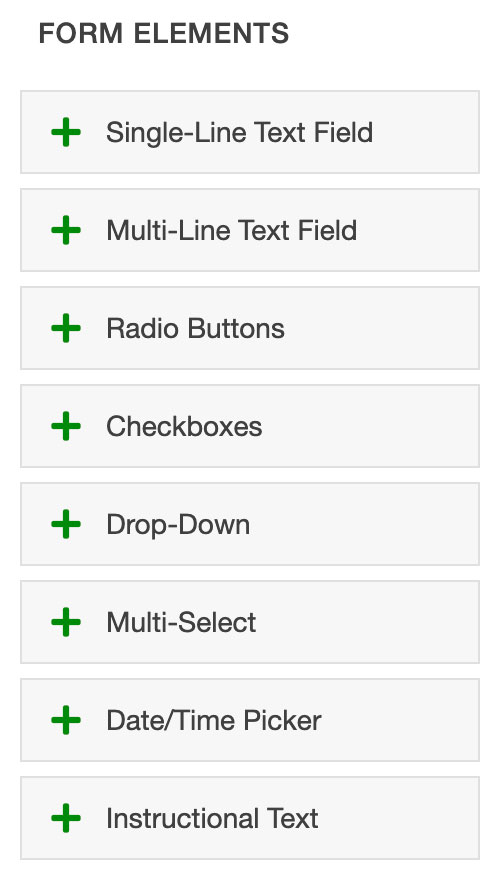
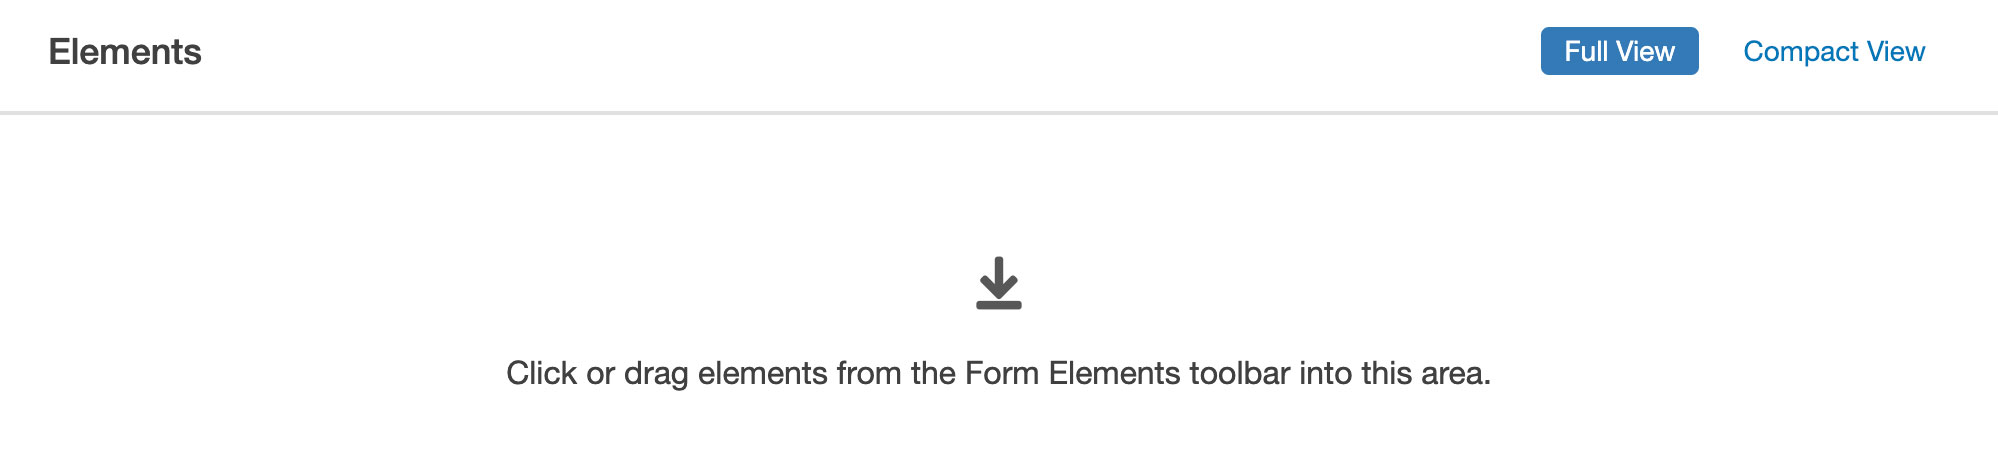
- In the Form Elements toolbar, drag elements to the main window to build your form.
- Each element needs a label, or the question to be answered, and a name. The name is automatically created from the label and used to record any answers to that question. Element names can only be edited before you save the form, and are limited to thirty-two characters. Elements cannot have identical names.
- All elements can have helper text, which instructs users how to answer the question.
- All elements can be marked as required, so that users have to fill them out to submit their form answers.
- Configure one or more optional email messages. When a form is completed, it can email
the submission results to one or more people.
- More than one addressee can be added to an email by separating each address with a semicolon.
- The "From" and "To" fields must both be properly formatted email addresses, or the form won't send emails.
- Insert the value of a form submission into any of the fields by using the name of
that element surrounded by double braces {{ }}. For example, you might want to send
an email to the person who submitted the form with follow-up information. In the form,
you would ask for their email address, and the element name would be
email. Then in the email message, you would put{{email}}in the "To" field, and the email would send to whatever address a form submitter put as their email. - Check "Include all submitted values" for every question answer to be added to the "Body" text when the email is sent. Uploaded files will be included in the email as download links; these links expire after seven days from form submission (but you can still access the file from form submissions).
- Configure success and failure messages for form submissions. While you can format the text using the mini-WYSIWYG editors, the appearance of the messages is also defined by your site styling.
- Check "Save Results in Database" to record form submissions.
- Click Create to make the asset.
Your asset is now available for use on pages, but must be published before it appears on any live web pages.
Edit
Edit an existing forms asset, as follows:
- Navigate to Content > Assets.
- Click on the name of the asset you want to edit.
- Check out the asset.
- Click Edit in the page actions toolbar.
- Edit the asset content.
- In the Form Elements toolbar, drag elements to the main window to edit your form.
- Click Save.
- Publish the asset for your changes to appear on the live website.
Form Submissions
If form results are saved in a database, you can view them in Omni CMS, as follows:
- Navigate to Content > Assets.
- Click to open the More Actions menu . . . for a form asset.
- Click Review > Form Submissions.
or
- While viewing a form asset, click Form Submissions in the page actions toolbar.
The submissions list shows columns for submission date, ID number, and unless disabled, the IP address of the submitter. It also shows a column for each element and the submitted answer (if any), labeled with the Name of each element. Any files uploaded via the form display as a link; click the link to download the file. The file is accessible to anyone who has that download URL.
Click "Export CSV" in the top-right corner to download a CSV form with all the form submission data. Clicking "Delete All" permanently clears the submissions, and cannot be undone. It will also delete any files uploaded via that form from S3 storage.
Note: If the form submission includes files uploaded to the form, the download link will expire after seven days from CSV export.
Visuals
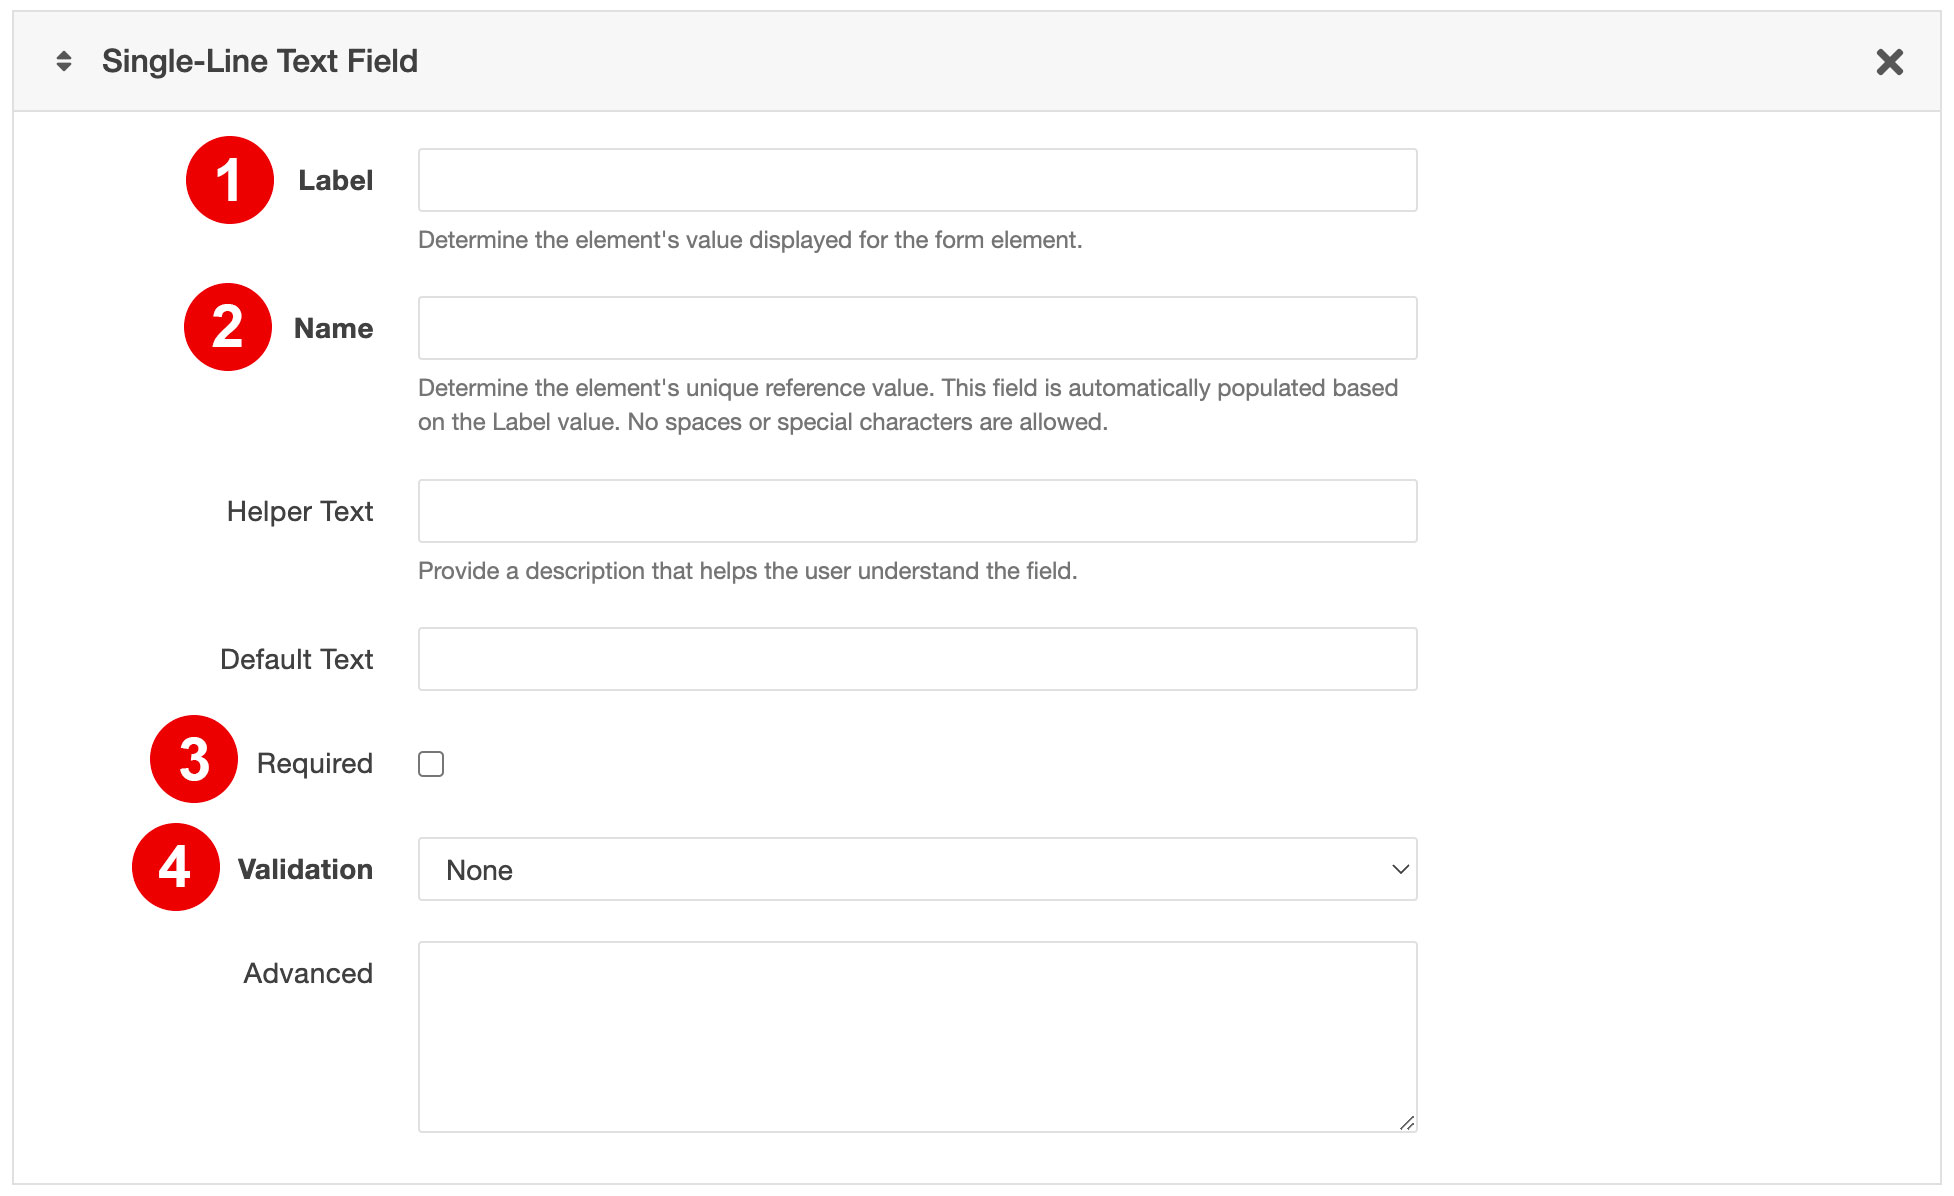
- Label: This is what describes the field to the user.
- Name: Generally auto-filled based upon the label name. Must be unique.
- Required: Check this if the field should be required to be filled.
- Validation: Apply validation to the field such as:
- Email address validation
- Minimum length validation
- Regular expression validation

- To: Who the submission email will be sent to.
- From: Who the submission email with appear to be from.
- Subject: The message that will appear in the subject line of the email.
- Body: The message that will appear in the body of the email.
- Form Values: If this is checked all of the fields the user filled out and their reponses will be appended to the end of the email.


