About
Create a slideshow of images to be used on your website. As part of the Live Delivery Platform (LDP) module, image gallery assets require LDP to be purchased and activated before they can be created in your site.
Each image in the asset has its own title, caption, description, and link. How image galleries appear on your website depends on your site design and styling.
Insert image gallery assets onto pages while you are editing the content or source code. A common use is to integrate them into page designs through page parameters. Through page parameters, you can assign an image gallery to a page and determine if the image gallery will display as thumbnails, a slide show, or a slider region. Options vary depending on your implementation, site design, and even the type of page you are editing.
Create
Creating an image gallery asset is a two-step process. First, create the asset, where you fill out basic information. Then, upload the images into the asset, sort, and caption them before saving and publishing.
Step 1
Create an image gallery asset, as follows:
- Navigate to Content > Assets.
- Click +New.
- Click Image Gallery.
- Type an asset name.
- Description and tags are optional, but tags can make it easier to find when searching for an asset to place on a page.
- Galleries are automatically locked to the site. To use a gallery on a different site, create a new image gallery asset on that site.
- Set access settings for the asset, if applicable.
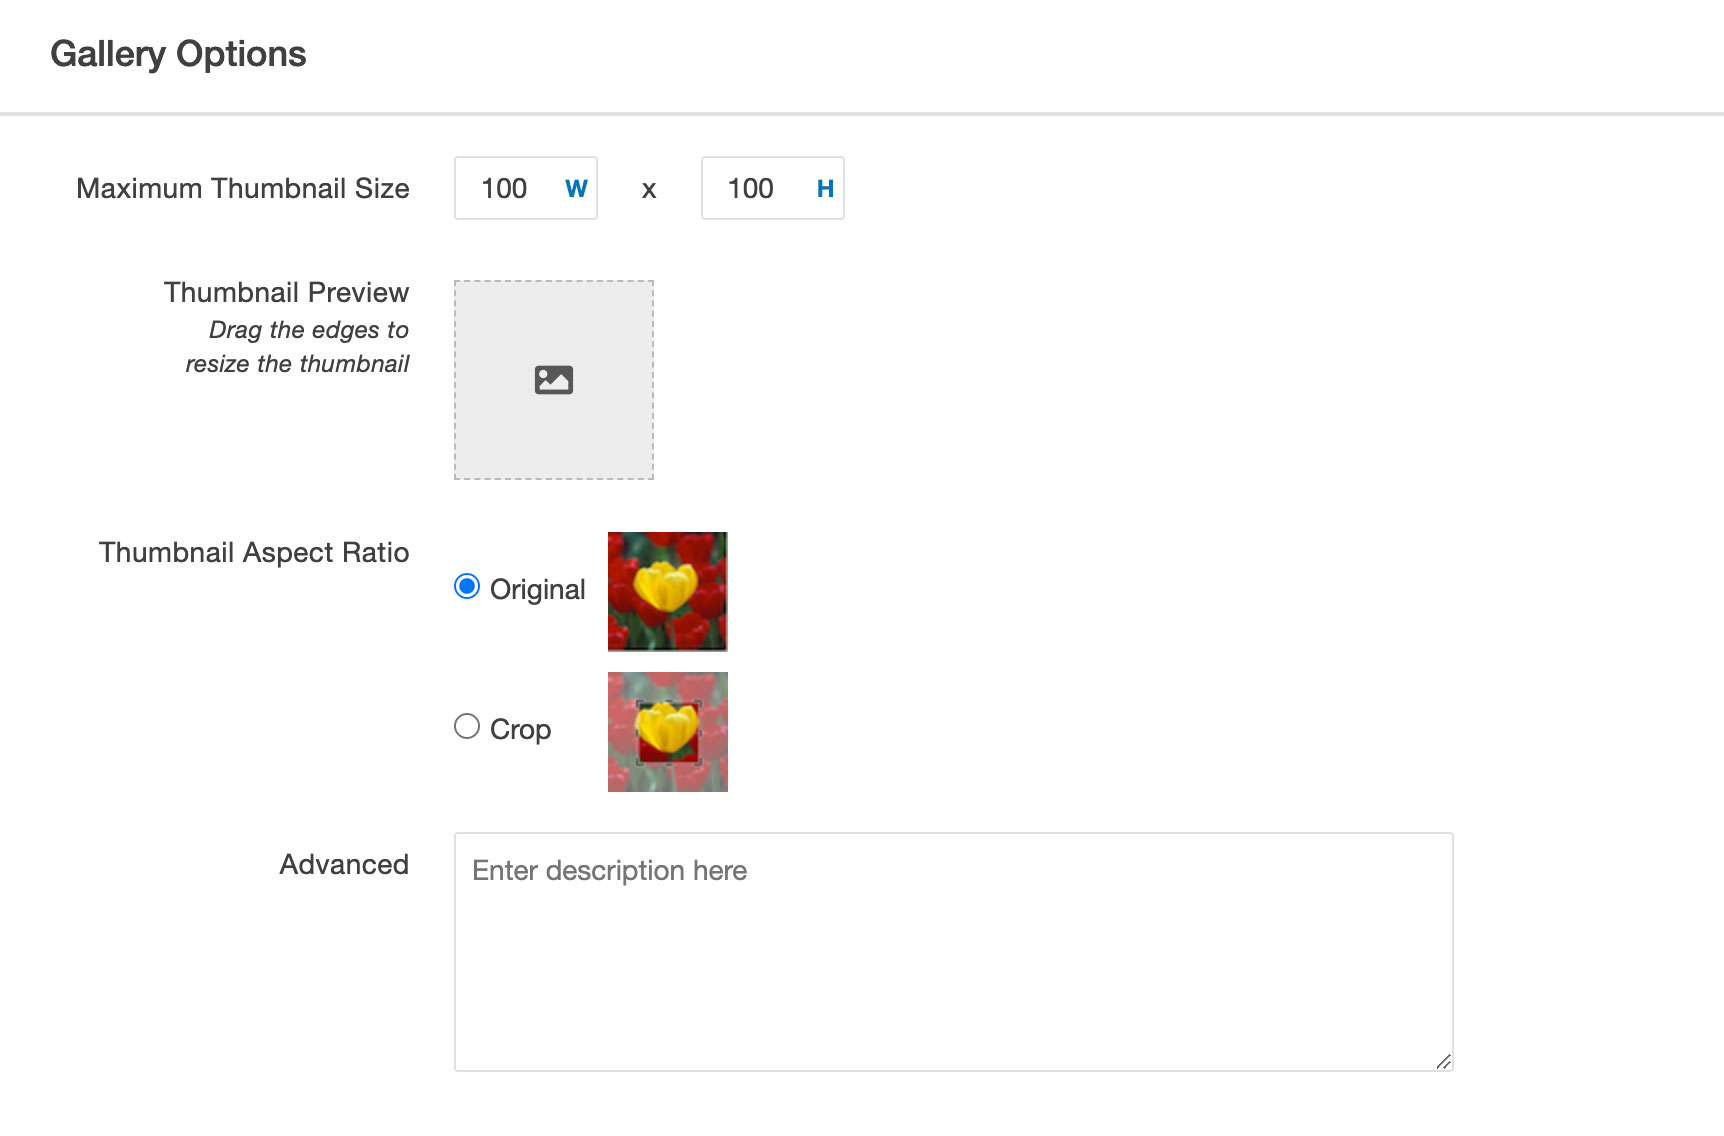
- Determine how the image gallery thumbnails will display, as follows:
- Maximum Thumbnail Size: Type the maximum width and height of the thumbnails. The max value for each is 500 pixels.
- Thumbnail Preview: Drag the dotted-line of the preview box to adjust, if desired.
- Thumbnail Aspect Ratio: Select an aspect ratio radio button to determine how images are resized to create the thumbnail.
- Select "Original" radio to keep the proportions of the image and resize it (for example, the longest dimension meets the maximum thumbnail dimension).
- Select "Crop" to resize the image so the shortest dimension meets the max thumbnail dimension, and then crop from the center of the image.
- Click Create.
Step 2
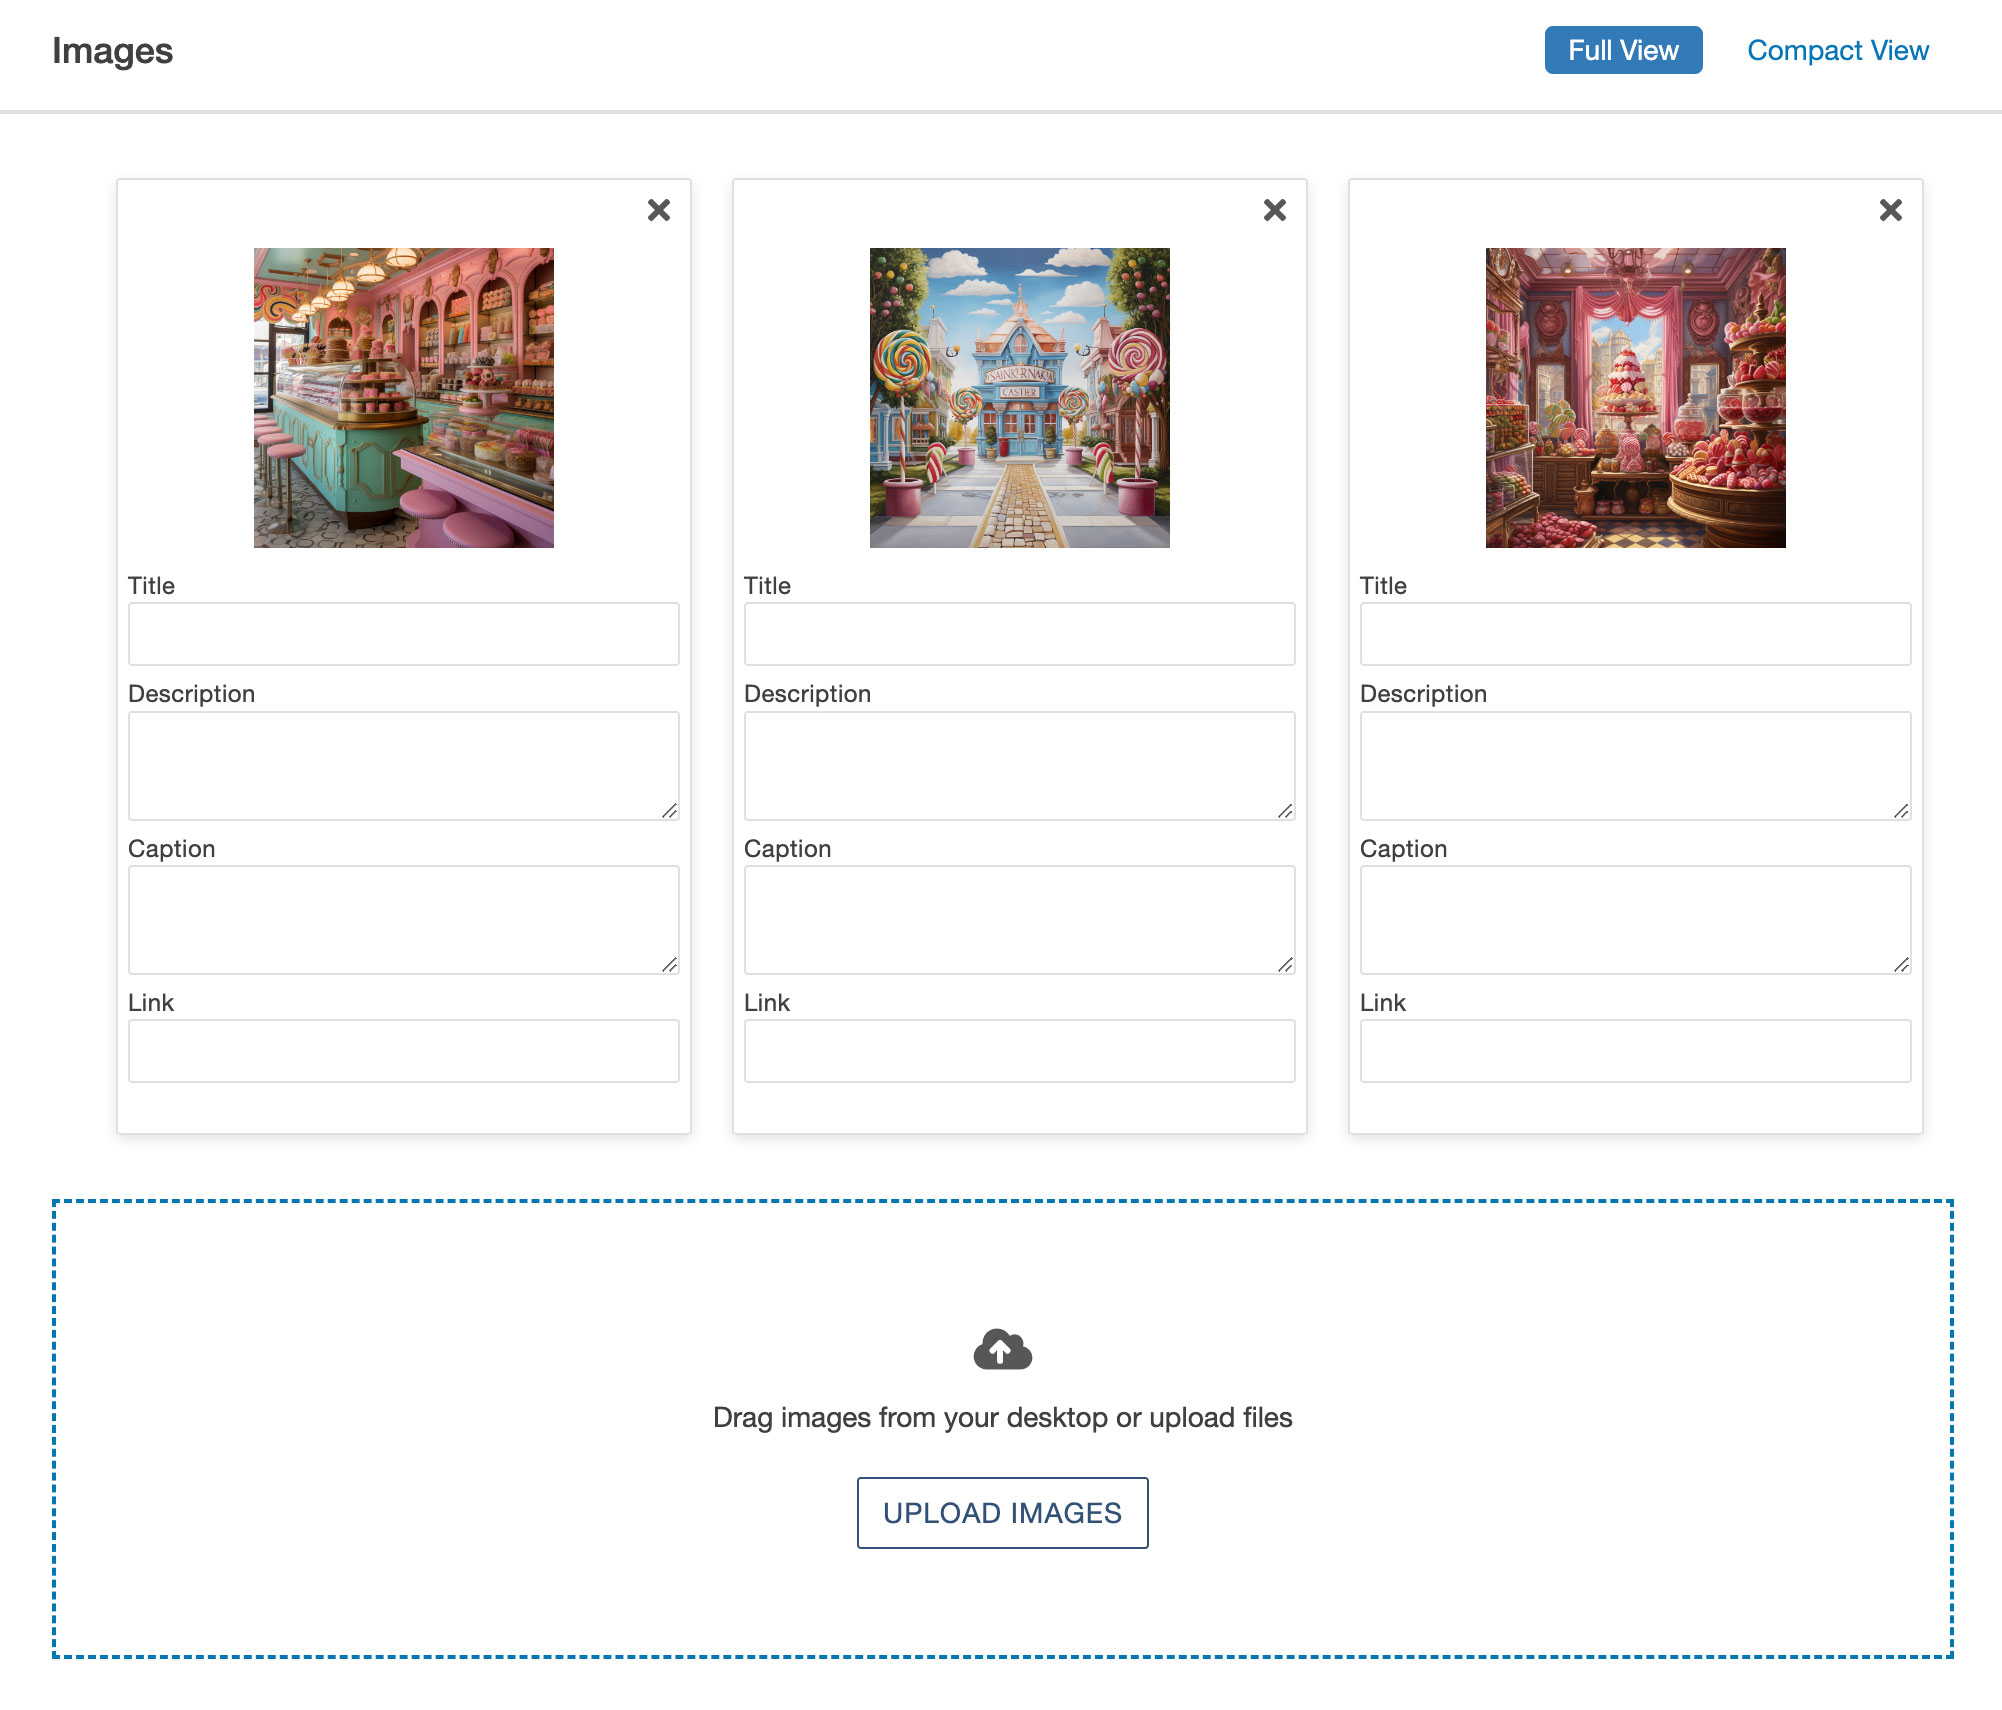
Upload images to the asset, as follows:
- While editing an asset, click Images.
- Click Upload Images or drag them to the window.
- You must upload files rather than use images already in Omni CMS.
- You cannot edit images after uploading them to the asset.
- Uploaded images have a 1mb size cap. If you exceed this the upload process may spin infinitely.
- For each image, type a title, description, caption, and click-through link, as appropriate.
- Drag images to a new position in the window.
- The order of the images in the gallery determines the order they display on a page.
- To remove images from the gallery, click X.
- Click Save.
Your asset is now available for use on pages, but must be published before it appears on any live web pages.
Edit
You can edit the options and metadata for an image gallery asset but not the images. To change the images upload a new image and delete the image you are replacing.
Edit an image gallery asset, as follows:
- Navigate to Content > Assets.
- Click on the name of the asset you want to edit.
- Edit the asset options or image metadata, as needed.
- Click Upload Images or drag them to the window.
- Click X to remove images from the gallery.
- Click Save.
- Publish the asset for your changes to appear on the live website.
Visuals